Documentation Index
Fetch the complete documentation index at: https://docs.unpod.dev/llms.txt
Use this file to discover all available pages before exploring further.
Integration
Webhook integration is the process of using webhooks to enable real-time communication between web applications, where one application sends data to another as an event occurs.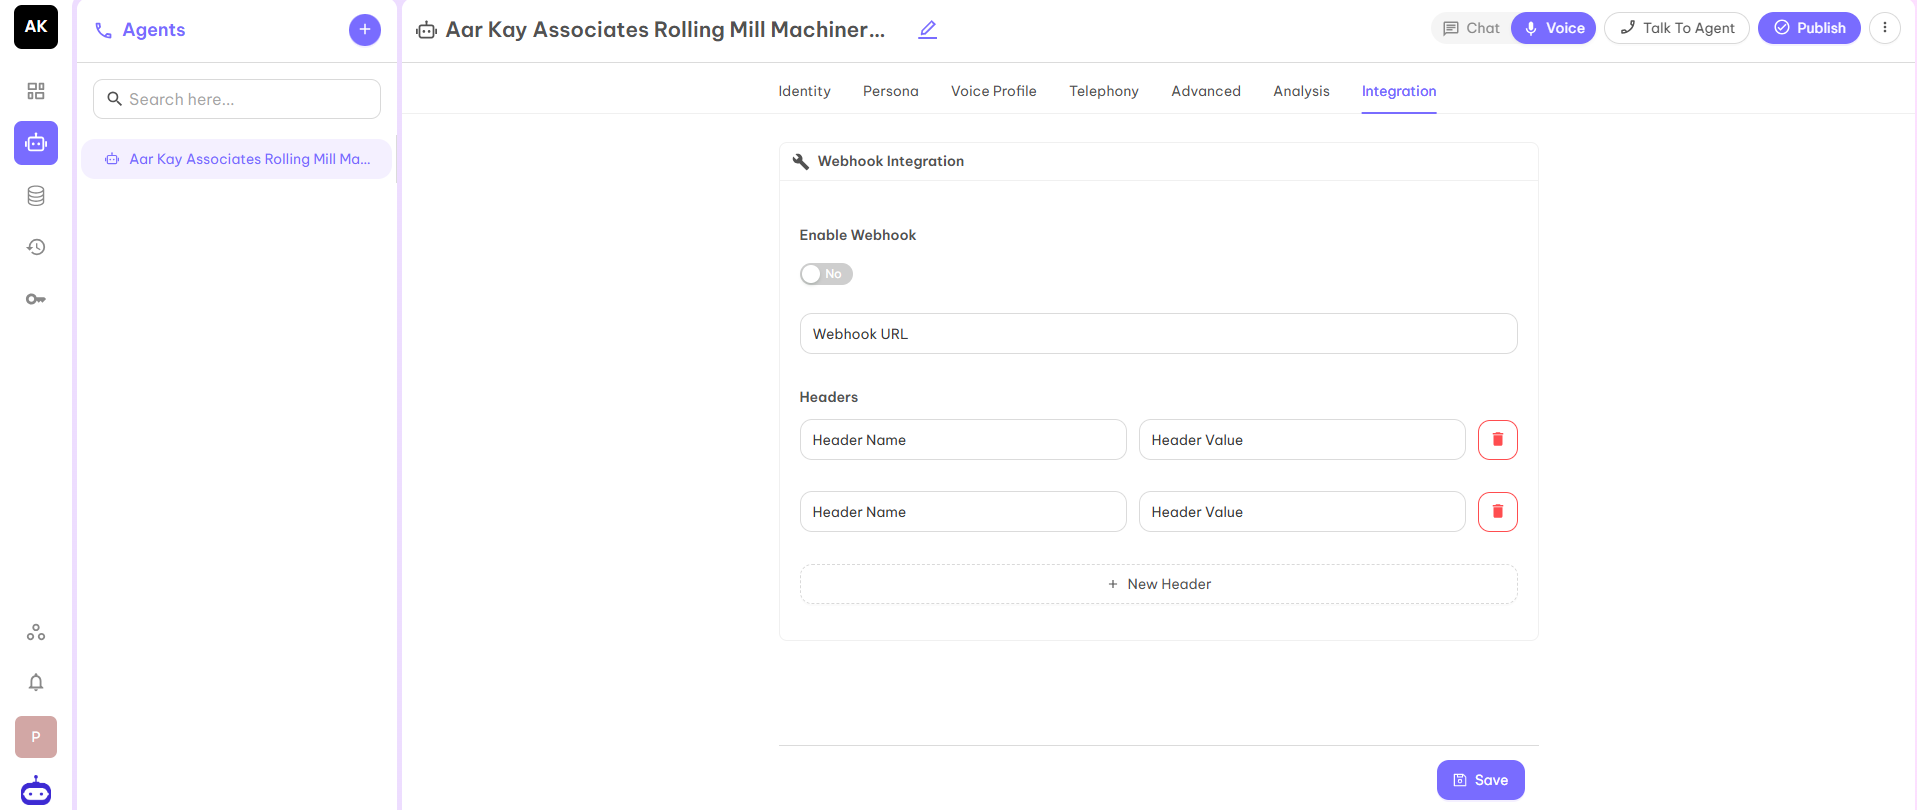
Common Webhook Headers
Common and Standard Headers:- Content-Type - Describes the format of the data (e.g., application/json, application/x-www-form-urlencoded).
- User-Agent - Identifies the client sending the request (e.g., GitLab/15.5.0).
- Content-Length - Size of the request body in bytes.
- Authorization - For bearer tokens or basic auth (e.g., Bearer token).
- X-Hub-Signature / X-Hub-Signature-256 - HMAC signature to verify the request authenticity (GitHub, etc.).
- X-Shopify-Hmac-Sha256 - The signature of Shopify to verify the delivery.
- Idempotency-Key - Ensures a request is processed only once, even with retries.
- X-GitHub-Event - Type of event (e.g., push, pull_request).
- X-Shopify-Topic - The event topic (e.g., products/create).
- X-Gitlab-Event - GitLab event type (e.g., Push Hook).
- X-Contentful-Topic - Event topic in Contentful.